Understanding the Flow of a Commercial Brew Day
There’s a significant difference between understanding how commercial brewing equipment works in theory and actually knowing how to operate it in production. This guide is organized around the natural flow of a brew day: starting with the hot side, moving through the cold side, and finishing with the sanitation systems that protect every batch you produce.
Every commercial brewery operates in two distinct phases, separated by the heat exchanger. The Hot Side is where heat is applied — mashing, lautering, boiling, and whirlpool. The Cold Side is where heat is suppressed — fermentation, conditioning, carbonation, and packaging.
What You’ll Learn
- How to use hot-side equipment — HLT, mash tun, lauter tun, kettle, whirlpool
- How to use cold-side equipment — heat exchanger, fermenters, glycol, brite tank
- How to run CIP correctly — the standard cleaning and sanitizing sequence
- Common equipment mistakes — and how to avoid them in startup breweries
- Key operating temperatures — quick reference for real production use
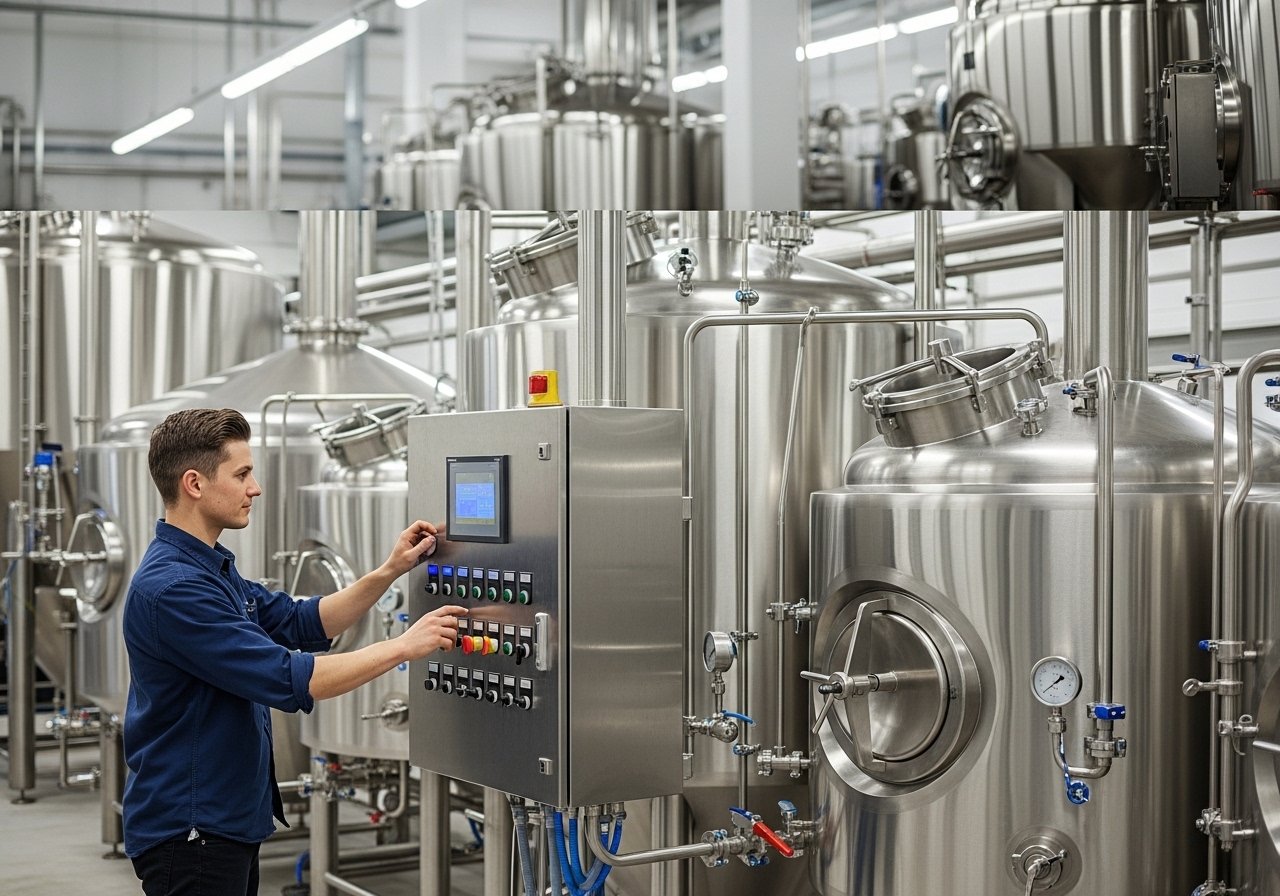
Hot Side Equipment: How to Use It
1. The Hot Liquor Tank (HLT)
The hot liquor tank is your water heating vessel. It heats and holds water at precise temperatures for strike water and sparge water.
How to operate it
- Fill the HLT with your calculated water volume before heating.
- Set strike water temperature approximately 10–15°F above your target mash temperature to account for heat loss.
- For a typical ale mash at 152°F (67°C), heat strike water to around 163–168°F (73–76°C).
- Set sparge water to 168–170°F (75–77°C).
- Use a calibrated thermometer or inline probe to verify actual temperature before transfer.
Common mistakes to avoid: overfilling the HLT creates transfer pressure problems, while underheating strike water drops your mash temperature before conversion is complete.
2. The Mash Tun
The mash tun is where crushed malt grain is mixed with hot strike water to create the mash. During mashing, alpha-amylase and beta-amylase convert starches into fermentable sugars over a controlled rest period.
How to operate it
- Pre-heat the vessel: circulate hot water through the mash tun for 5–10 minutes first.
- Add strike water first, then grain: this helps prevent dough balls and improves conversion efficiency.
- Hit and hold your target mash temperature:
| Mash Temperature | Primary Effect |
|---|---|
| 148–152°F (64–67°C) | Beta-amylase dominant rest — drier beer, higher fermentability |
| 152–156°F (67–69°C) | Balanced rest — common commercial range for body and attenuation |
| 156–162°F (69–72°C) | Alpha-amylase dominant rest — fuller body, lower attenuation |
- Hold the mash for 60–90 minutes depending on recipe and gravity.
- Perform an iodine test before lautering to confirm complete starch conversion.
3. The Lauter Tun
Once mashing is complete, wort must be separated from spent grain. Lautering involves three steps: vorlauf, wort runoff, and sparging.
- Vorlauf: recirculate the first runnings back over the grain bed until the wort runs clear.
- Wort runoff: drain slowly into the brew kettle to avoid collapsing the grain bed.
- Sparging: add 168–170°F sparge water evenly to rinse residual sugars from the grain.
End sparging when your pre-calculated wort volume is reached or when the runnings drop below 1.010 specific gravity.
4. The Brew Kettle
The brew kettle is where wort is boiled, hops are added, proteins coagulate into trub, and volatile off-flavor precursors are driven off.
How to operate it
- Bring the wort to a full rolling boil — not just a simmer.
- Add hops on a timed schedule from the end of the boil.
- Monitor boil-off rate; commercial systems typically target 8–12% evaporation per hour.
- Add kettle finings in the final 10–15 minutes to improve wort clarity.
| Hop Addition Timing | Purpose |
|---|---|
| 60-minute additions | Bittering hops |
| 15–20 minute additions | Flavor hops |
| 0–5 minute additions | Aroma hops |
| Whirlpool additions | Complex aroma and flavor, especially for hop-forward styles |
5. The Whirlpool
The whirlpool is the final hot-side step before chilling. Circular flow causes hop matter and coagulated proteins to pile into a cone in the center of the vessel so clean wort can be drained from the side.
- Allow the whirlpool to rest for 15–20 minutes after circulation stops.
- Maintain temperature during the rest so the cone settles properly.
- Drain slowly to avoid disturbing the trub cone.
6. The Plate Heat Exchanger
The plate heat exchanger rapidly chills hot wort down to pitching temperature using counterflow cooling with cold water and glycol.
- Sanitize the heat exchanger before each use.
- Open cooling water flow before starting wort transfer.
- Monitor wort outlet temperature continuously and adjust flow as needed.
- Flush immediately after use with hot water to prevent residue buildup inside the plates.
Cold Side Equipment: How to Use It
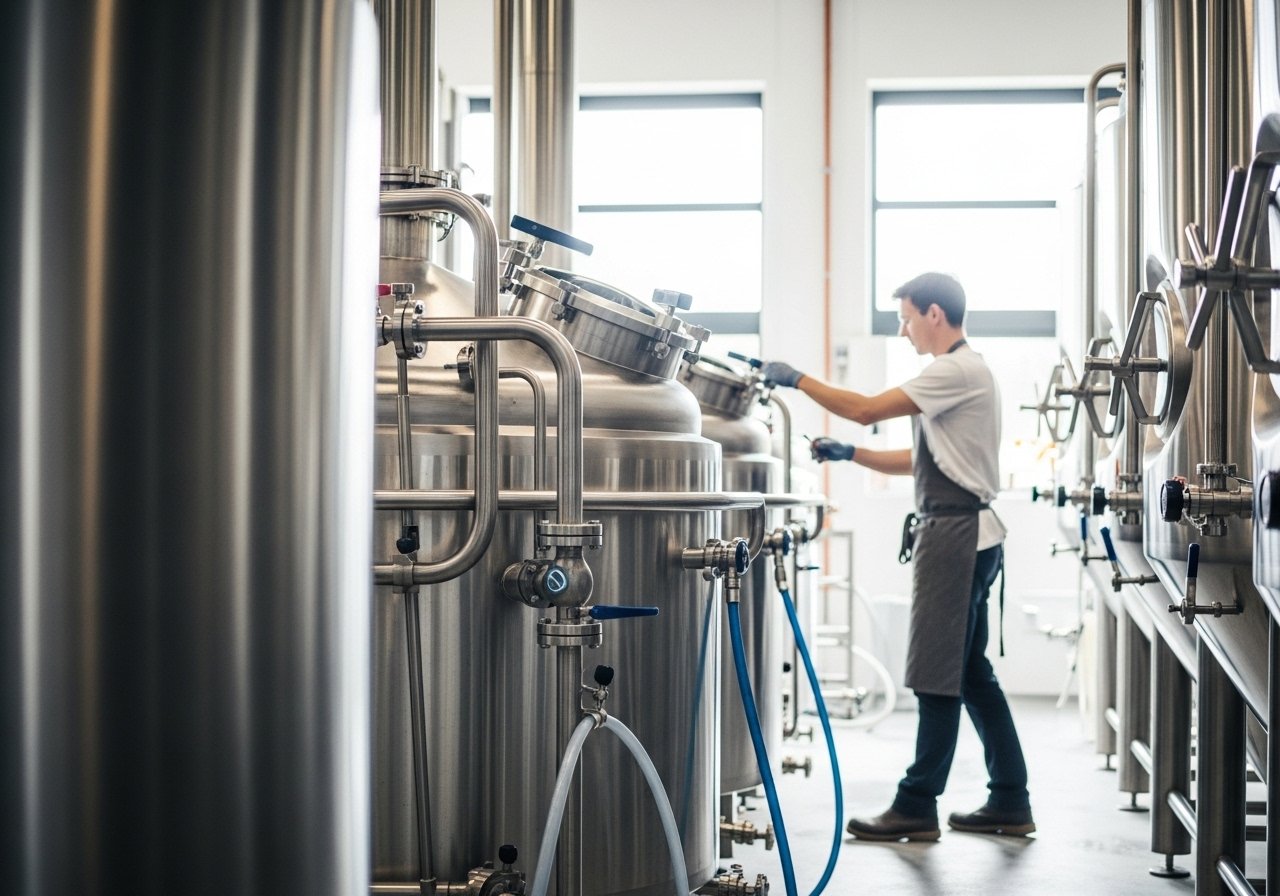
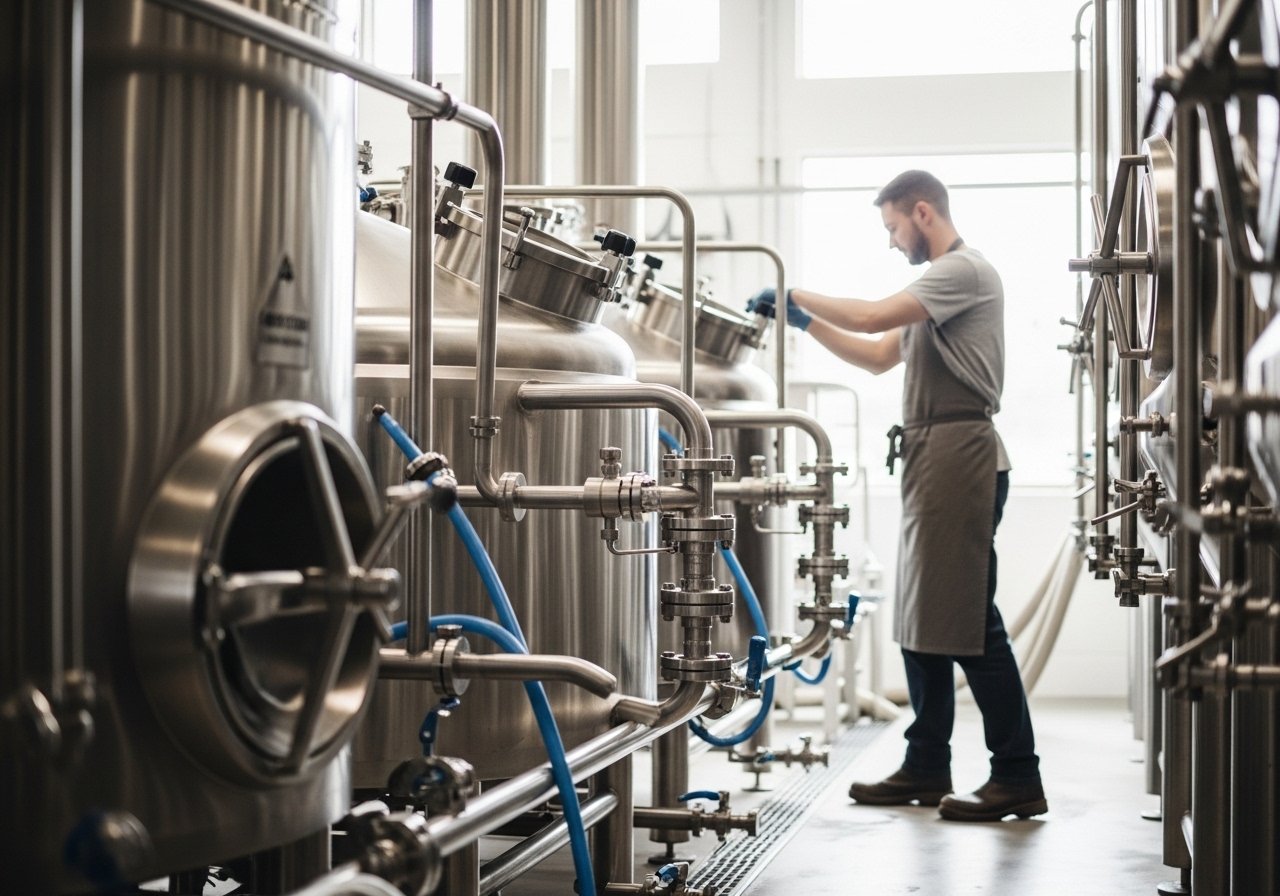
7. Commercial Conical Fermenters
Fermenters are where yeast converts wort into beer. Commercial conical fermenters are designed with jacketed walls, cone bottoms for yeast collection, sanitary tri-clamp fittings, and pressure-rated construction.
How to operate them
- Sanitize before every fill using your full CIP and sanitizer procedure.
- Transfer chilled wort and pitch yeast at target temperature.
- Set fermentation temperature and monitor with glycol jacket control.
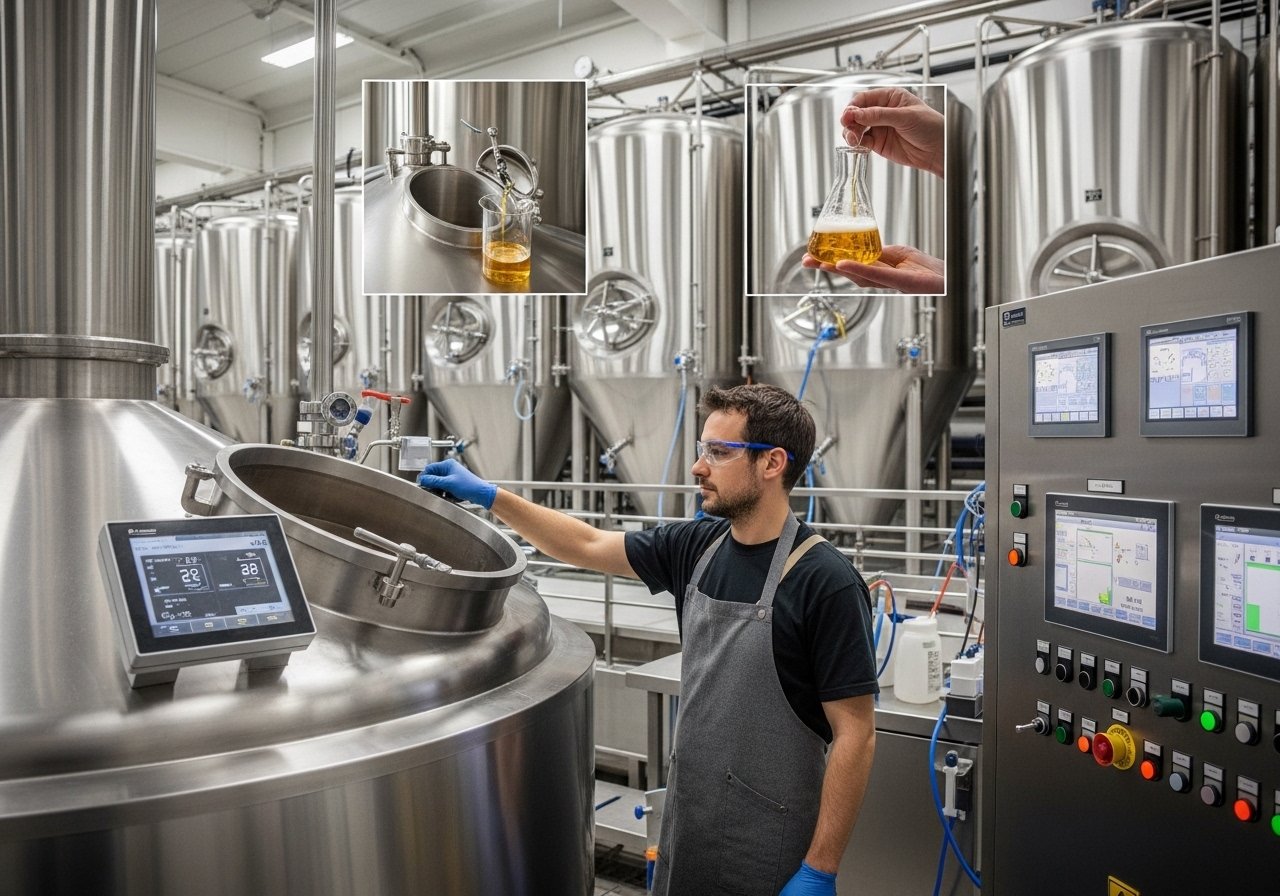
- Track gravity daily using a sample valve.
- Dump excess trub from the cone during active fermentation, but do not over-dump.
- Perform a diacetyl rest if needed near the end of fermentation.
- Cold crash after final gravity is stable.
- Harvest clean yeast after cold crash for repitching.
8. The Glycol Chilling System
The glycol chiller is the refrigeration backbone of the cold side, maintaining precise vessel temperatures across fermenters, brite tanks, and cold liquor tanks.
- Set the reservoir to your design specification, typically around 28–32°F (-2 to 0°C).
- Monitor glycol concentration annually with a refractometer.
- Check lines and fittings regularly for leaks.
- Size the chiller for peak cooling demand, not just average demand.
For startup breweries, a common rule of thumb is roughly 1 ton of refrigeration per 3–5 barrels of active fermenting capacity.
9. The Brite Beer Tank (BBT)
The brite tank is the final conditioning vessel before packaging. Beer is transferred under pressure for final carbonation, clarity settling, and flavor integration.
- Sanitize the BBT before every fill.
- Transfer beer under CO₂ pressure to minimize oxygen pickup.
- Carbonate using force carbonation or spunding.
- Hold at 32–38°F (0–3°C) for final conditioning.
- Pull daily samples for sensory and carbonation checks before packaging.
Equipment Sanitation: How to Use CIP (Clean-In-Place) Systems
No section on how to use commercial brewing equipment is complete without sanitation. CIP allows vessels, tanks, and pipework to be cleaned and sanitized in fully assembled condition by recirculating cleaning solutions through the equipment.
The Standard CIP Sequence
- Step 1 — Pre-rinse with hot water: flush with 120–140°F (49–60°C) water to remove loose organic material.
- Step 2 — Caustic wash: circulate 1–2% caustic soda at 120–160°F (50–71°C) for 15–30 minutes.
- Step 3 — Hot water rinse: remove all caustic residue and verify rinse pH.
- Step 4 — Acid wash: weekly or bi-weekly, circulate 0.5–1% phosphoric or nitric acid to remove beerstone and mineral scale.
- Step 5 — Final rinse: flush until pH is neutral.
- Step 6 — Sanitize: apply peracetic acid (PAA) or your approved non-rinse sanitizer and allow full contact time.
| Chemical | Purpose | Concentration | Temperature | Contact Time |
|---|---|---|---|---|
| Caustic soda (NaOH) | Remove organic soils, proteins, fats | 1–2% | 120–160°F (50–71°C) | 15–30 min |
| Phosphoric acid | Remove beerstone, mineral scale | 0.5–1% | 120–140°F (50–60°C) | 20–30 min |
| Peracetic acid (PAA) | Sanitize against bacteria, wild yeast, mold | Per manufacturer spec | Ambient | 10–30 min |
| Non-caustic cleaner | General cleaning for lower temp or softer metals | 1–2 oz/gal | 70–180°F (20–82°C) | 30–45 min |
Critical safety note: never mix caustic and acid solutions. Always verify a complete rinse between them.
Common Commercial Brewing Equipment Mistakes (And How to Avoid Them)
- Stuck lauter: usually caused by running off too quickly and collapsing the grain bed.
- Inconsistent fermentation temperatures: often a glycol sizing, air lock, or flow issue.
- Plate heat exchanger blockages: commonly caused by excessive trub carryover or poor flushing after use.
- Diacetyl in finished beer: often linked to under-pitching, poor yeast health, or skipping the diacetyl rest.
- Beerstone buildup: a maintenance issue caused by relying on caustic-only cleaning without regular acid washes.
How the Right Equipment Makes Operations Easier
Understanding how to use commercial brewing equipment is only half the equation. The other half is having equipment that’s built to be operated consistently — with properly sized jackets, sanitary tri-clamp fittings throughout, calibrated temperature controls, and cone geometry designed for clean yeast harvest.
At Commercial Brewing System, our turnkey brewing systems are designed specifically for startup microbreweries and include the hot-side and cold-side equipment described in this guide — matched, sized, and integrated so operations work properly from the first batch.
If you're still deciding on capacity, our commercial brewing system size guide helps compare production targets, facility footprint, and budget across 1-barrel to 30-barrel systems.
Frequently Asked Questions
What is the correct order to use commercial brewing equipment?
The sequence follows a natural flow: Hot Liquor Tank → Mash Tun → Lauter Tun → Brew Kettle → Whirlpool → Plate Heat Exchanger → Fermenter → Brite Tank → Packaging.
How often should commercial brewing equipment be cleaned with CIP?
Fermenters and brite tanks should be cleaned after every batch. Brew kettles, mash tuns, and lauter tuns should be cleaned after every brew day. Plate heat exchangers should be flushed immediately after use and cleaned on a regular schedule.
What temperature should the mash tun be held at in a commercial brewery?
Most commercial breweries target 148–156°F (64–69°C), depending on the beer style and desired level of attenuation and body.
How does a plate heat exchanger work in a commercial brewery?
It chills hot wort from boiling temperature to fermentation pitching temperature using counterflow heat transfer between hot wort and cold water or glycol.
What is CIP in a commercial brewery?
CIP stands for Clean-In-Place — the process of cleaning and sanitizing vessels, tanks, and piping by recirculating chemical solutions through equipment without disassembly.
What is the difference between the hot side and cold side of a commercial brewery?
The hot side covers mashing, lautering, boiling, and whirlpool. The cold side covers fermentation, conditioning, carbonation, and packaging. The plate heat exchanger connects and separates those two stages.
Quick Reference: Commercial Brewing Equipment Operating Temperatures
| Equipment | Key Temperature | Purpose |
|---|---|---|
| Hot Liquor Tank (strike water) | 163–168°F (73–76°C) | Offset mash temperature drop |
| Hot Liquor Tank (sparge water) | 168–170°F (75–77°C) | Rinse grain bed efficiently |
| Mash Tun | 148–156°F (64–69°C) | Starch-to-sugar conversion |
| Brew Kettle | 212°F (100°C) | Full rolling boil |
| Wort after heat exchanger (ale) | 60–72°F (16–22°C) | Ale fermentation pitch temperature |
| Wort after heat exchanger (lager) | 45–55°F (7–13°C) | Lager pitch temperature |
| Fermenter (active ale fermentation) | 60–72°F (16–22°C) | Controlled fermentation |
| Fermenter (cold crash) | 32–38°F (0–3°C) | Yeast flocculation |
| Brite Tank | 32–38°F (0–3°C) | Final conditioning |
| CIP caustic wash | 120–160°F (50–71°C) | Organic soil removal |
| CIP acid wash | 120–140°F (50–60°C) | Mineral scale removal |
Ready to Set Up Your Commercial Brewery?
Understanding how to operate commercial brewing equipment is a significant step. The next is choosing a system that makes consistent operation achievable from your very first brew day.